

Dryopteris ferns grow best in shade and moist, well-drained soil. To learn how to plant a Dryopteris fern, choose a sheltered spot, set the roots into the soil and water thoroughly. Keep the soil from drying out while the fern establishes.
It’s easy to assume a fern will thrive in any damp, shady corner, but waterlogged soil can be just as unsuitable as soil that dries out. The right balance helps your fern establish and produce healthy fronds.
This guide covers where to plant Dryopteris, how to manage moisture as it grows, and why some established ferns can tolerate drier conditions. You’ll also learn how to deal with damaged or untidy fronds, keeping care practical and suited to your garden.
Key Takeaways
- Choose a sheltered, shady planting spot; full summer sun can scorch many Dryopteris ferns.
- Keep the soil moist but well drained, and avoid letting it dry out completely.
- Some established Dryopteris ferns can cope with drier soil, but tolerance varies between types.
- Remove damaged fronds as they appear, and time any broader tidy-up for late winter or early spring.
Light and shade requirements
Most Dryopteris ferns need partial or full shade and shelter from strong winds. Full summer sun can scorch the fronds, especially when the soil is dry. Dryopteris filix-mas, the male fern, tolerates more sun and exposure than some other species. Dryopteris erythrosora, or copper shield fern, prefers partial to full shade, though it can take some direct morning or evening sun. Avoid hot, exposed positions for either type.
Popular garden choices include male fern, copper shield fern and Dryopteris wallichiana, also called alpine wood fern. Other options include Dryopteris affinis ‘Cristata Angustata’ and Dryopteris dilatata ‘Lepidota Cristata’. Check the mature spread before choosing a position, as different species vary in size.
Plant during a mild spell when the ground is workable, avoiding frozen or waterlogged soil. This gives roots time to settle without exposing new growth to harsh conditions. For spacing, allow room for the mature plant rather than crowding young ferns together. Male fern can reach 0.5-1 metres wide; copper shield fern and alpine wood fern can also spread 0.5-1 metres. Use those widths to judge the gap between plants and keep fronds from overlapping too soon.
After planting, spread garden compost or other organic material over the soil as mulch, keeping it clear of the crown. Annual applications during the first few years add organic matter and help the soil retain moisture without covering emerging fronds.
Dryopteris erythrosora can be affected by mealybugs, scale insects and spider mites. Check fronds for visible insects or damage and remove affected foliage. Although this fern is relatively resistant to pests and diseases, poorly drained soil can still cause problems.
Dryopteris ferns produce spores rather than seeds, and the spores form on the undersides of fronds. Established clumps can also be divided, provided each section retains roots and growing points. Keep children and pets from chewing garden plants, and identify the exact fern before treating it as safe to handle or ingest.
Pruning old or damaged fronds
Remove dead or damaged Dryopteris fronds as soon as you notice them. Cut each one near its base without slicing into the crown or nearby healthy growth. Clearing damaged foliage keeps the plant tidy and makes new fronds easier to spot. Use clean, sharp secateurs for a controlled cut.
Leave healthy fronds in place through winter, but keep an eye out for damage. Dryopteris fronds emerge from below ground in early spring, so avoid disturbing the crown during a tidy-up. Remove dead or damaged foliage as it appears. Cut old or unattractive fronds back in late winter or early spring, before fresh growth is difficult to see.
Check each frond before cutting. Remove foliage that is brown, collapsed or badly torn, but leave green, firm fronds in place. A frond with a damaged tip may still be healthy lower down. If so, trim only the damaged section, following the frond’s shape. This preserves healthy foliage instead of removing an entire frond unnecessarily.
Work around the plant in stages. Gently part the outer fronds, identify damaged growth, then cut it low rather than pulling. Pulling can disturb the crown or nearby shoots. Pause if you cannot see where a frond joins the plant. A careful cut is safer than reaching blindly through dense foliage.
In late winter or early spring, remove old, unattractive fronds to make room for new growth. Don’t cut every frond just to make the plant look uniform. Dryopteris species differ, and some foliage may still be healthy. Keep the crown intact and clear away cut material so new fronds remain visible and easier to inspect.
For a tidy routine, inspect your fern during winter and again as spring growth appears. Remove only foliage that is dead, damaged or clearly past its best. For more practical fern care advice, keep the plant’s species and seasonal growth in mind.
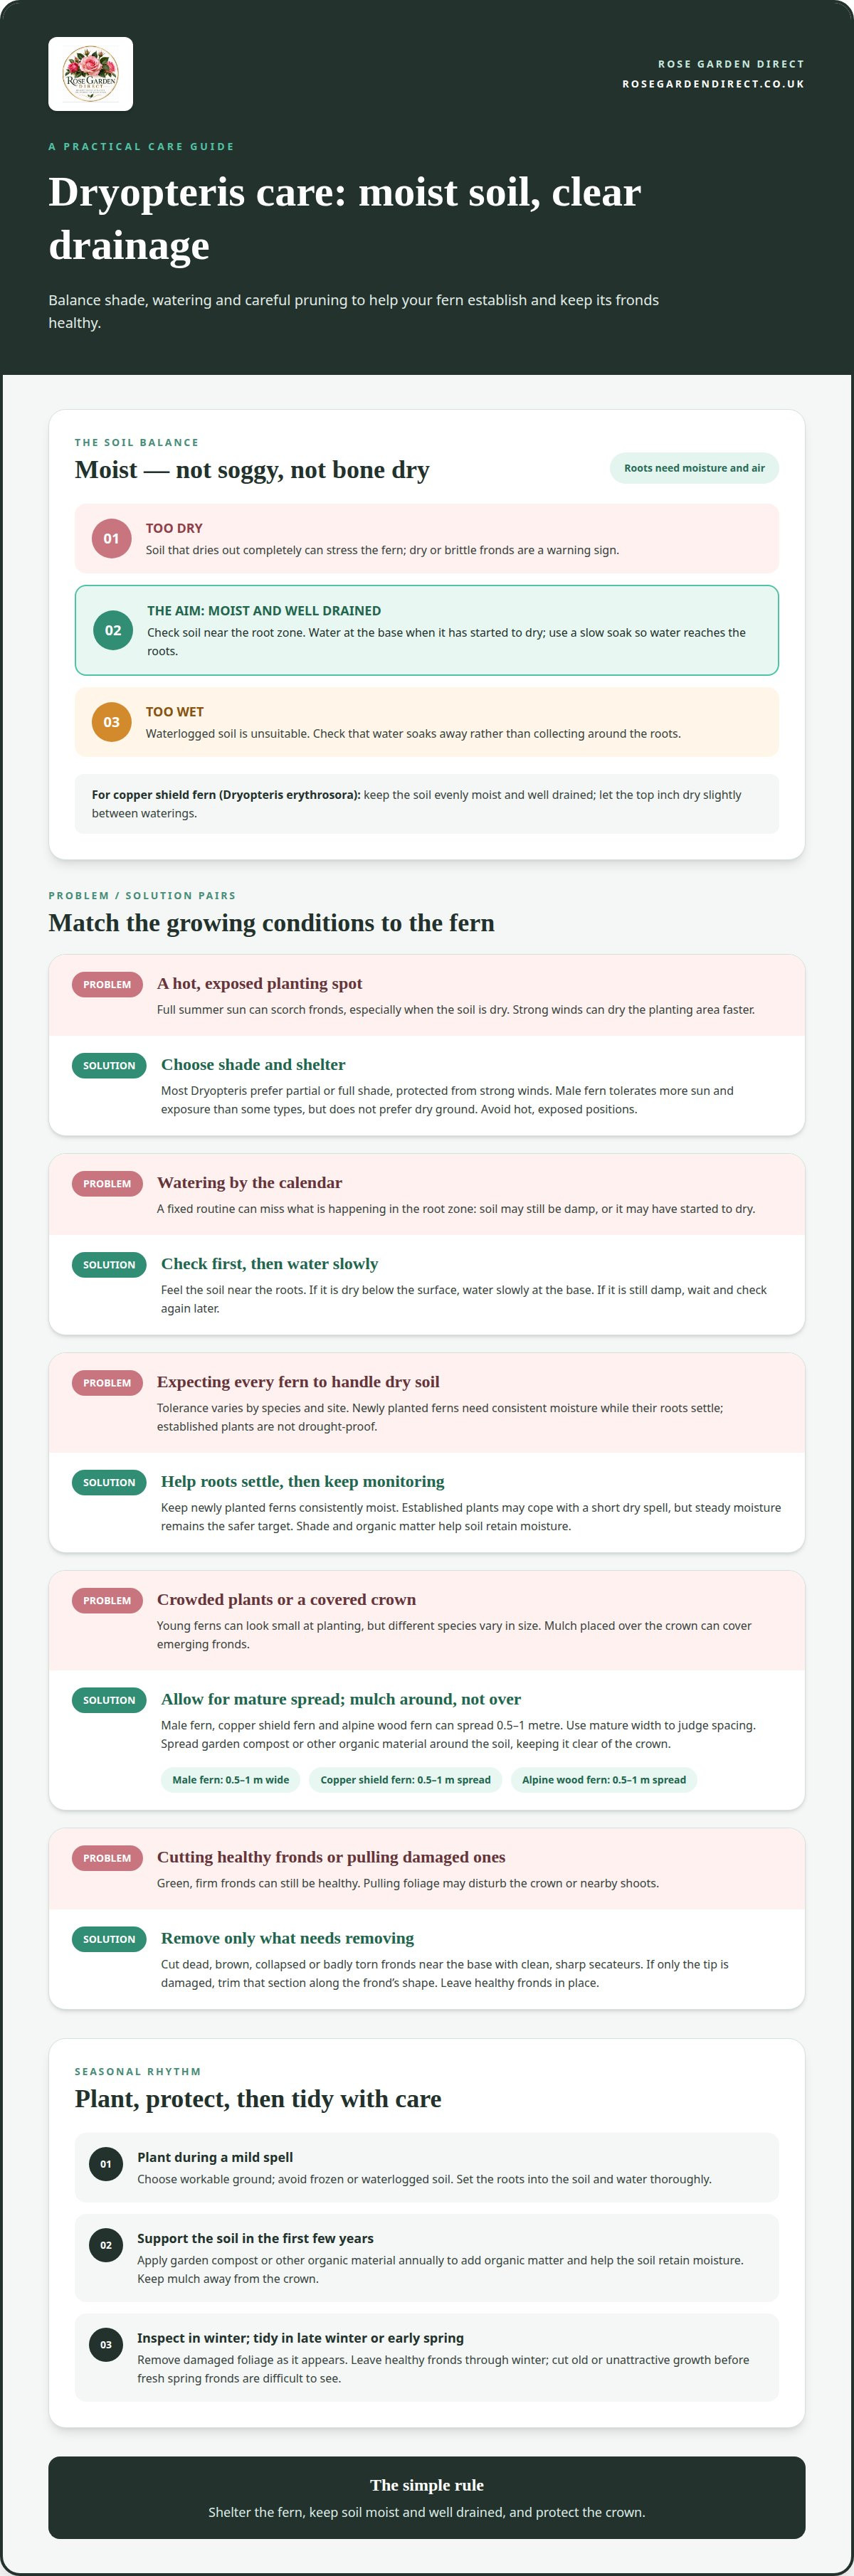
Tolerance of dry soil once established
Some Dryopteris ferns tolerate drier soil once established, but they are not drought-proof. Newly planted ferns need consistent moisture while their roots settle into the surrounding soil. Established plants have had time to grow roots beyond the original rootball. Judge their condition by fresh growth and overall frond health, not age alone. A fern in a shaded bed may cope better with a short dry spell than one exposed to sun and wind.
Species and site conditions both matter. Dryopteris filix-mas tolerates more sun and exposure than some other Dryopteris species, but it does not prefer dry ground. Shade reduces direct heating around the roots, while organic matter helps garden soil hold moisture. Strong winds can dry the planting area faster, and a fern beneath a tree may face competition for water even in a shaded bed.
During a dry spell, check the soil around the root zone before watering. If it feels dry below the surface, water slowly at the base so moisture reaches the roots. If the soil is still damp, wait and check again later. Look for dry or brittle fronds, particularly on Dryopteris erythrosora. These signs indicate moisture stress, not that the fern has adapted to dry conditions.
Mulch with garden compost or another organic material to slow surface drying. Spread it around the root area, not over the crown. Annual compost applications during the first few years after planting support the soil around growing roots. Keep checking during prolonged dry weather, especially in exposed beds or beneath thirsty trees. Some Dryopteris ferns can withstand drier soil once established, but steady moisture remains the safer target for healthy growth.
Watering and soil moisture
Dryopteris ferns prefer moist soil in shade, but their roots also need air. Aim for soil that holds moisture without becoming waterlogged. Add organic matter to improve the soil structure and help it retain moisture. Check drainage before planting: water should soak away rather than collect around the roots.
Check soil moisture instead of following a fixed watering schedule. Feel the soil near the root zone and water at the base if it has started to dry. A slow soak lets water reach the roots rather than run across the surface. Check again after watering, especially where compacted soil or a slope affects water movement.
For Dryopteris erythrosora, keep the soil evenly moist and well drained. Let the top inch dry slightly between waterings, but don’t allow the whole root area to dry out. If the soil becomes completely dry, fronds may turn dry and brittle. Moisture often lasts longer in shade than in a sunny, exposed bed, so check the soil before watering again.
Choose moist, organically rich soil with free drainage. Focus on suitable soil structure and moisture rather than adjusting pH to an unsupported target. If your garden soil is heavy, improve its drainage and organic content before planting. These soil conditions are a practical starting point when learning how to plant a Dryopteris fern.
After planting, water thoroughly to settle soil around the roots. Continue checking as the fern establishes, adjusting for rainfall, shade and drainage. A layer of garden compost can help reduce surface drying; keep it away from the crown. As you plan how to plant a Dryopteris fern, remember that moisture needs vary by species and site. To choose a fern for a shaded bed, browse hardy Dryopteris ferns.
For Dryopteris erythrosora, keep the soil evenly moist and well drained, letting the top inch dry slightly between waterings. Don’t let the soil dry out completely, or the fronds can become dry and brittle.
Rose Garden Direct: Black Baccara Bareroot Rose
Rose Garden Direct offers the Dryopteris Male Fern 5L Potted Big Trunk for gardeners choosing a hardy fern for a shaded bed. A potted plant gives you a fern to position in the soil you’ve prepared, then care for using the moisture and pruning guidance above.
For another Dryopteris option, the range also includes Dryopteris 1 litre pot and Dryopteris 7.5L Ferns Hardy. The Black Baccara Bareroot Rose is a separate choice for a rose planting, rather than a fern-care alternative. Match your selection to the planting space and the conditions in your garden.
Rose Garden Direct’s plants are the next step if you’re ready to choose a Dryopteris or add a rose to your garden. Visit rosegardendirect.co.uk to explore the plants.
Plan your next planting step
Let your garden’s conditions guide your next choice. Note where shade falls, how quickly the soil dries and whether rain collects after wet weather. These observations can help you choose where a new fern is most likely to establish and what care the bed may need. Keep a simple record through the seasons, especially when adding plants to an established border.
When planning how to plant a Dryopteris fern, consider how it will sit alongside existing plants as it matures. Leave room for its natural shape and choose neighbours with similar growing conditions. A considered layout can make the bed easier to care for and help each plant remain visible.
Rose Garden Direct offers garden plants, including the Blue Moon Hybrid Tea Bareroot Rose. If you’re ready to choose plants for your garden, contact Rose Garden Direct today. Take your time, plan for the conditions you have, and make your next planting a practical fit.
Frequently Asked Questions
Where should you plant Dryopteris ferns: sun, shade, and shelter requirements?
Choose a sheltered position in partial or full shade for most Dryopteris ferns. Full summer sun can scorch foliage, while strong, frost-laden winds can damage young growth. Dryopteris filix-mas tolerates more sun and exposure than some species, so it may suit a brighter site. Dryopteris erythrosora prefers shade, though it can take direct morning or evening sun. Check how sunlight moves across the bed before planting.
How do you plant a Dryopteris fern step by step?
Prepare the soil, loosen the rootball and set the fern at the same depth it grew in its pot. Choose a position with enough room for its mature spread. Dig a hole wider than the rootball, position the plant, then backfill and firm the soil gently around the roots. Water thoroughly to settle the soil. Keep compost mulch clear of the crown, where the fronds emerge.
How much and how often should you water a newly planted Dryopteris fern?
Water deeply after planting, then check the root area regularly and water when it begins to dry. There’s no fixed interval: rainfall, shade, wind and soil drainage all affect how quickly moisture is lost. Water at the base so it reaches the roots. If rain has kept the soil damp, wait rather than adding more. A newly planted fern needs closer checks than an established one.
Are Dryopteris ferns toxic to pets or safe to plant near children?
Keep children and pets from chewing Dryopteris ferns, and identify the exact fern before treating it as safe to handle or ingest.


